
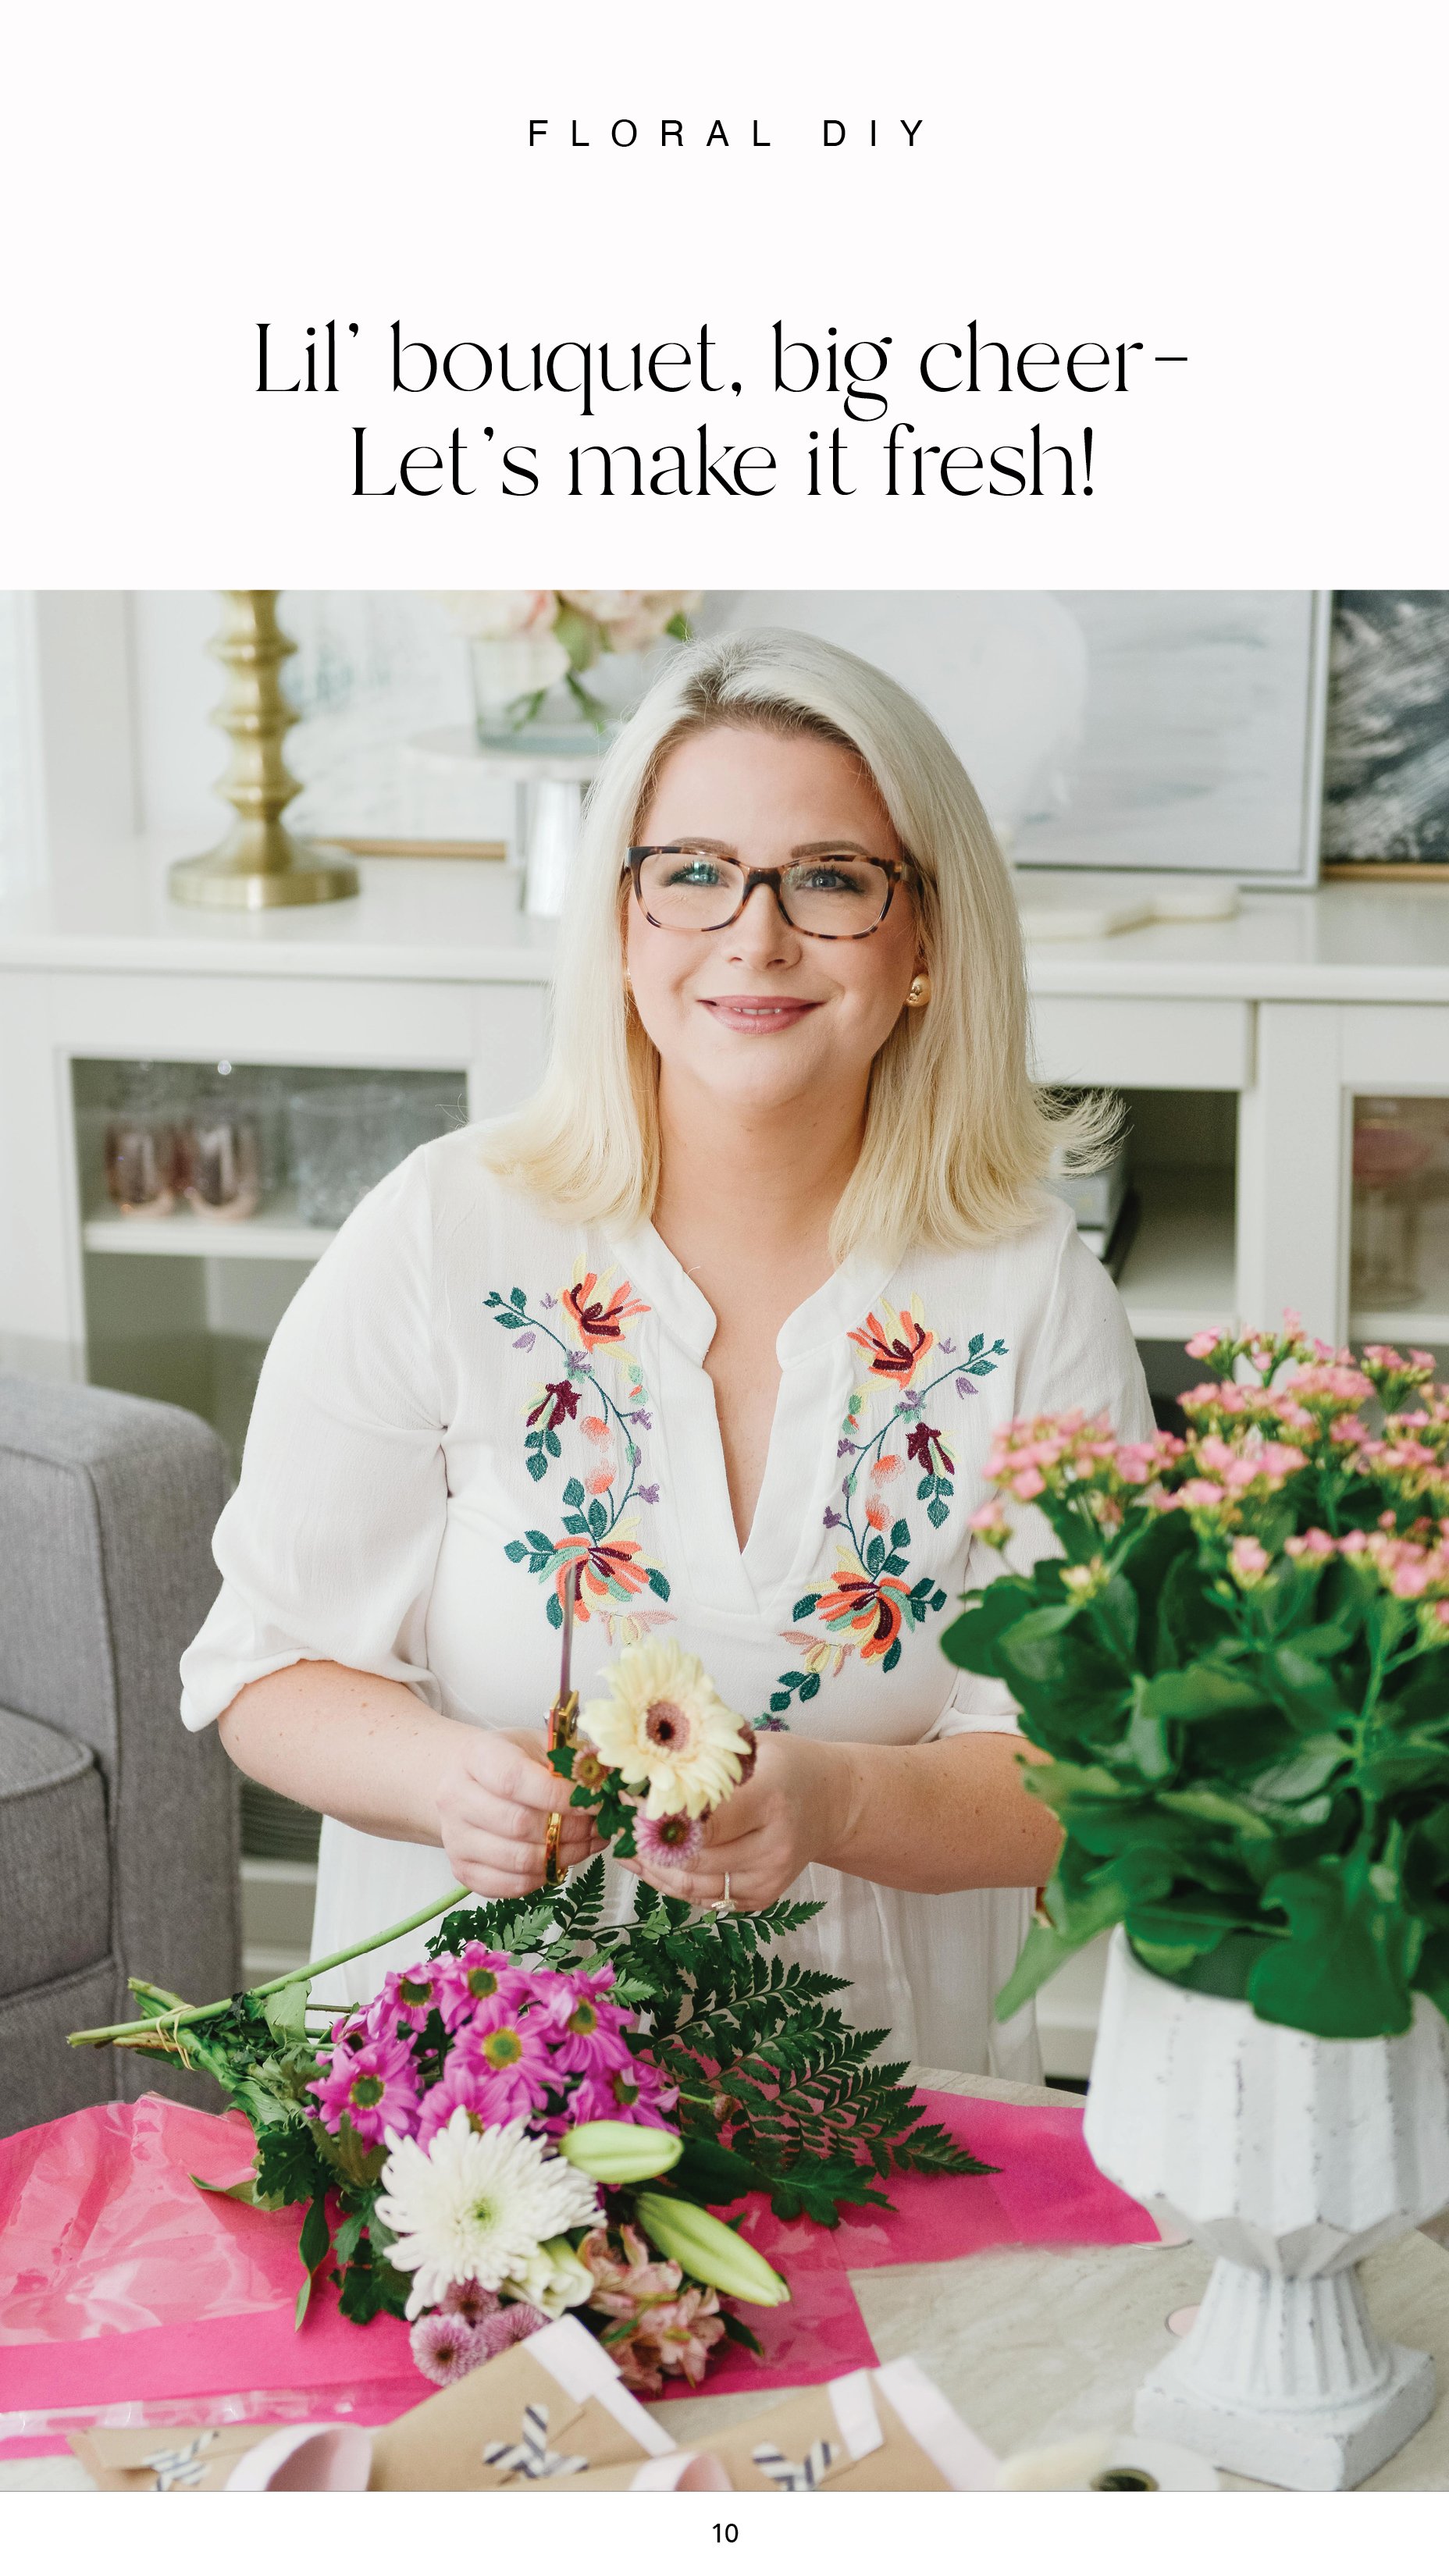
Mother's Day Mini Bouquets

Good things come in adorable packages
They say that good things comes in small packages. These mini bouquets with recycled paper maximize your market flowers and are big on the cuteness factor.

Supplies You’ll Need:
2 grocery store flower bouquets make 4-6 minis
2 shopping bags or roll of craft paper
Scissors
Stapler
Tissue Paper
Washi Tape
String
Damp paper Towel
Plastic Wrap
Embellishments

Let’s start at the very beginning… with the flowers of course! With this DIY, I envision you making 4-6 mini bouquets, but there is no limit! I started out this project by choosing a lovely bouquet from my local grocery store along with a flowering potted plant to trim some blooms off of as well. The price of the potted plant was about the same as the large bouquet and I liked the idea of continuity of the smaller blooms paired with the array from the bigger bunch.


Bundle Your Flowers
I first began by creating the mini bundles and grouping flowers together in 4 equal arrangements. Because you are taking for a large bouquet, each of the small ones will be slightly different. Each small bouquet will probably feature a main, larger bloom with some accent florals and greens. I also added some dried mini pampas grass stems to add texture and a bit of boho flare.
Once I was happy with my four separate groupings, I affixed them each together using gold string. At this point, you may want to use a square of damp paper towel at the base of the cut stems with some plastic wrap to hold it in place. This will help keep the flowers fresh and the plastic wrap keeps the moisture in.


Making the Wrap
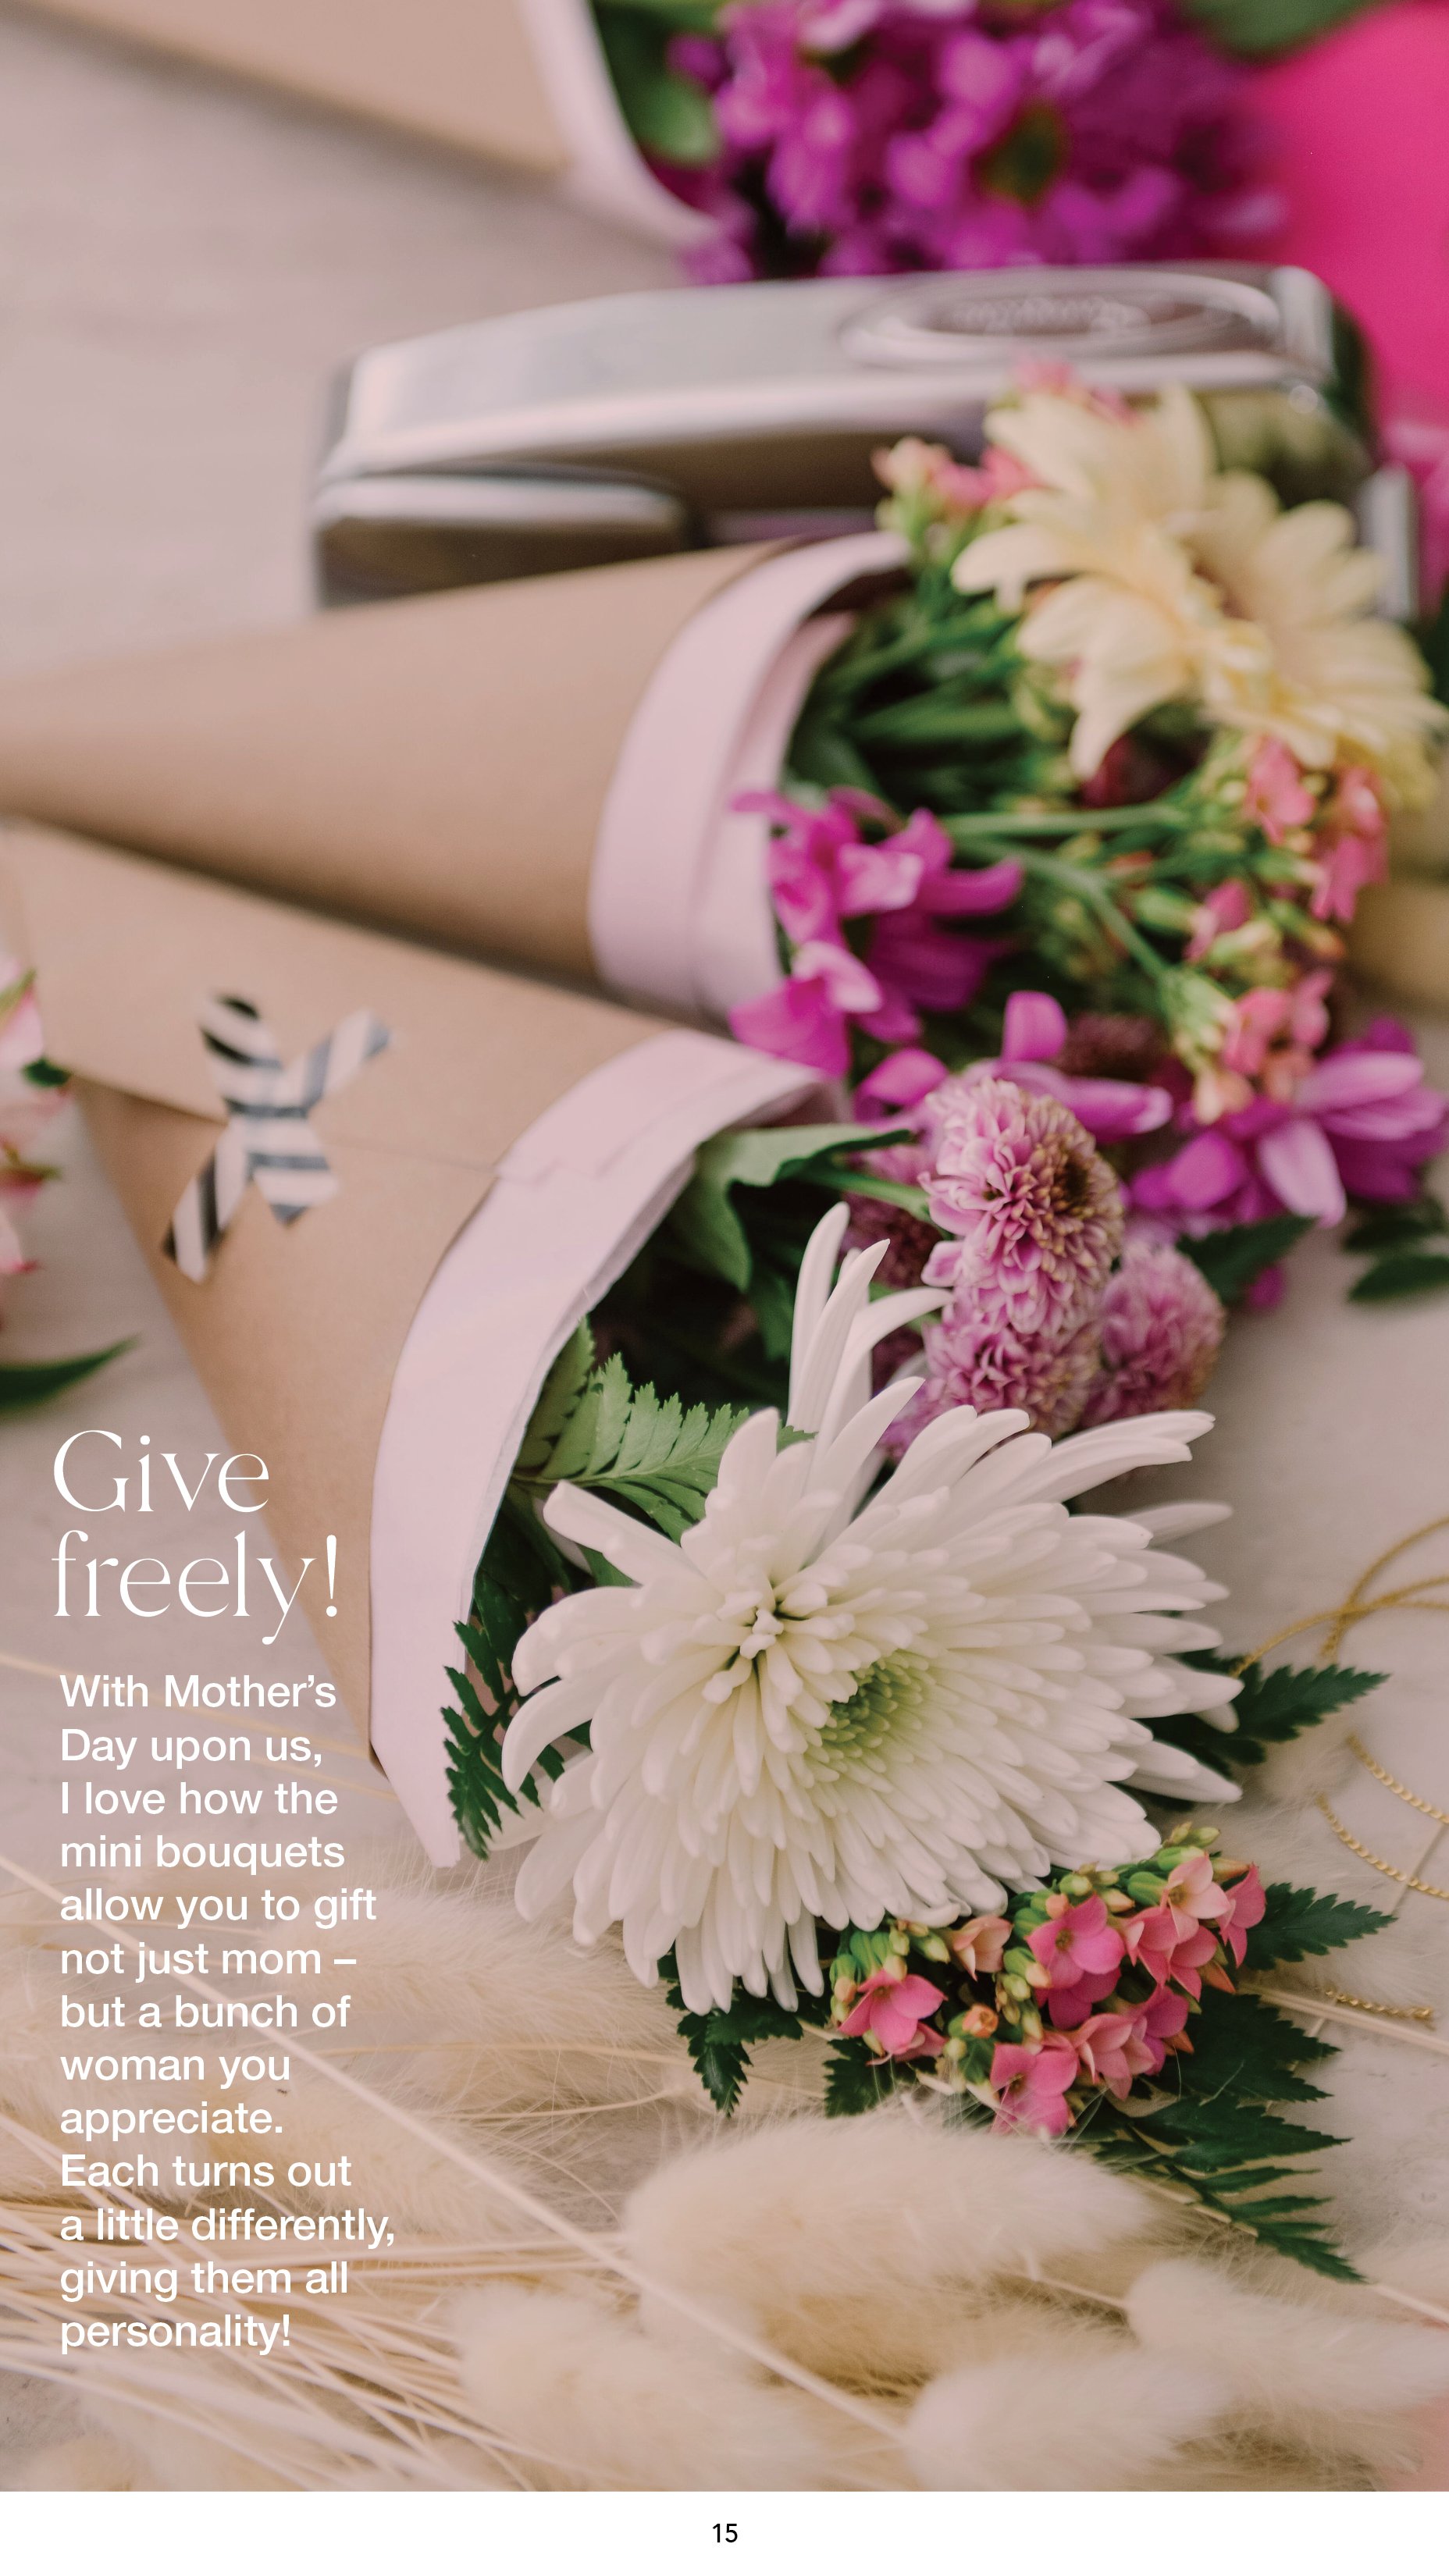
I love how the craft paper wrap gives these mini bouquets a market-fresh look! This is a great way to repurpose and recycle shopping bags. I used 2 H&M bags to create my wraps. Use the bag inside-out to hide a logo. Otherwise, you can also use craft paper from a roll, or you could even use a pretty wrapping paper. I digress! In this case, I lined the craft paper wrap with tissue, which gives a soft and pretty finish.

But before we get too far, let’s go back to chatting about how I created the wrap. To ensure that all of the bouquets are uniform, I made myself a nice square template using a piece of letter sized paper. I folded it on the diagonal and trimmed off the edge so that I was left with a perfect 8.5” square. I used the template to trace out 4 equal sized squares on my bag and cut them out.


Lining & Wrapping
Once you have your craft paper squares, you’ll simply cut out some tissue paper liner that is the same size plus a little extra height to peak out the top as a border.
Lay the tissue on top of the craft paper in front of you in a diamond shape with a point at the top and bottom.. Fold the layered pair in half vertically so you create a crease up the back. Open up again (still in diamond formation) then fold up the bottom corner. (Think baby swaddle). Now, think ice cream cone as you wrap the sides around to hug each other.
Once you are happy with the cone you fromed,, use a stapler to fix it in place. Cover the staple with some cute washi tape or a sticker. This is my fave part… and such a cute detail!

At this point you can pop the floral bunches into their cute wrap and ooh & aww and how adorable they are! You are about to make some ladies in your life very happy! If you’re smart (and I know that you are) you’ll have left enough flowers for yourself to enjoy too!

a few extra prep and storage notes
You’ll want to give the finished bouquets out once they are done. If not, store the flowers in a small vase or cup of water and place them in the wrap just before you give them away. Flowers are also best stored in a cooler place like your garage. Make sure your recipient knows they’ll want to put them in water once they get home.

As seen in the May 2022 Issue of the Everyday Beautiful Living eMagazine.
